These steps are very general and can be used as a guide to migrate any report (whether Crystal reports, WebI, DeskI and any other object) from one BusinessObjects system to another in the same landscape. In my case I’m using the example of 3 crystal reports
1) Get the report name:
a) Crystal Report 1
b) Crystal Report 2
c) Crystal Report 3
2) Verify that the reports exist in the QA systems. Logon to QA CMC
http://boeserver/businessobjects/enterprise115/admin/en/admin.cwr and enter the Administrator credentials or any other user with Admin rights
Fig 1: CMC Logon screen
Now go to the path where the reports are saved: Home > Folders > Reports Home
FIG 2: CMC Reports Home
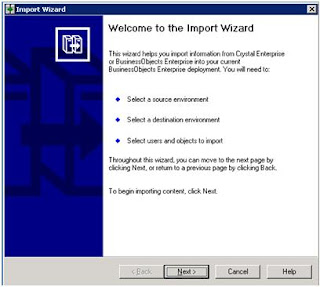
3) Once verified, logon to the QA BusinessObjects Enterprise Server and open Import Wizard. You should come to this window
FIG 3 - Import Wizard – Screen 1
You can simply click Next on this. On the next screen, select the BusinessObjects source type, type in the server name (cluster name if you have a cluster configured) and supply username and password.
FIG 3 - Import Wizard – Screen 2
FIG 4 - Import Wizard – Screen 3
On this screen, fill in the destination server information. Click Next.
FIG 5 - Import Wizard – Screen 4
Fig A – All options in select objects to import
On this screen, click the options you want to be migrated. In my case I will select “Import application folders and objects” becaase I needed just the reports. These options are self describable. Click Next.
To be continued >>>>>>>


No comments:
Post a Comment